

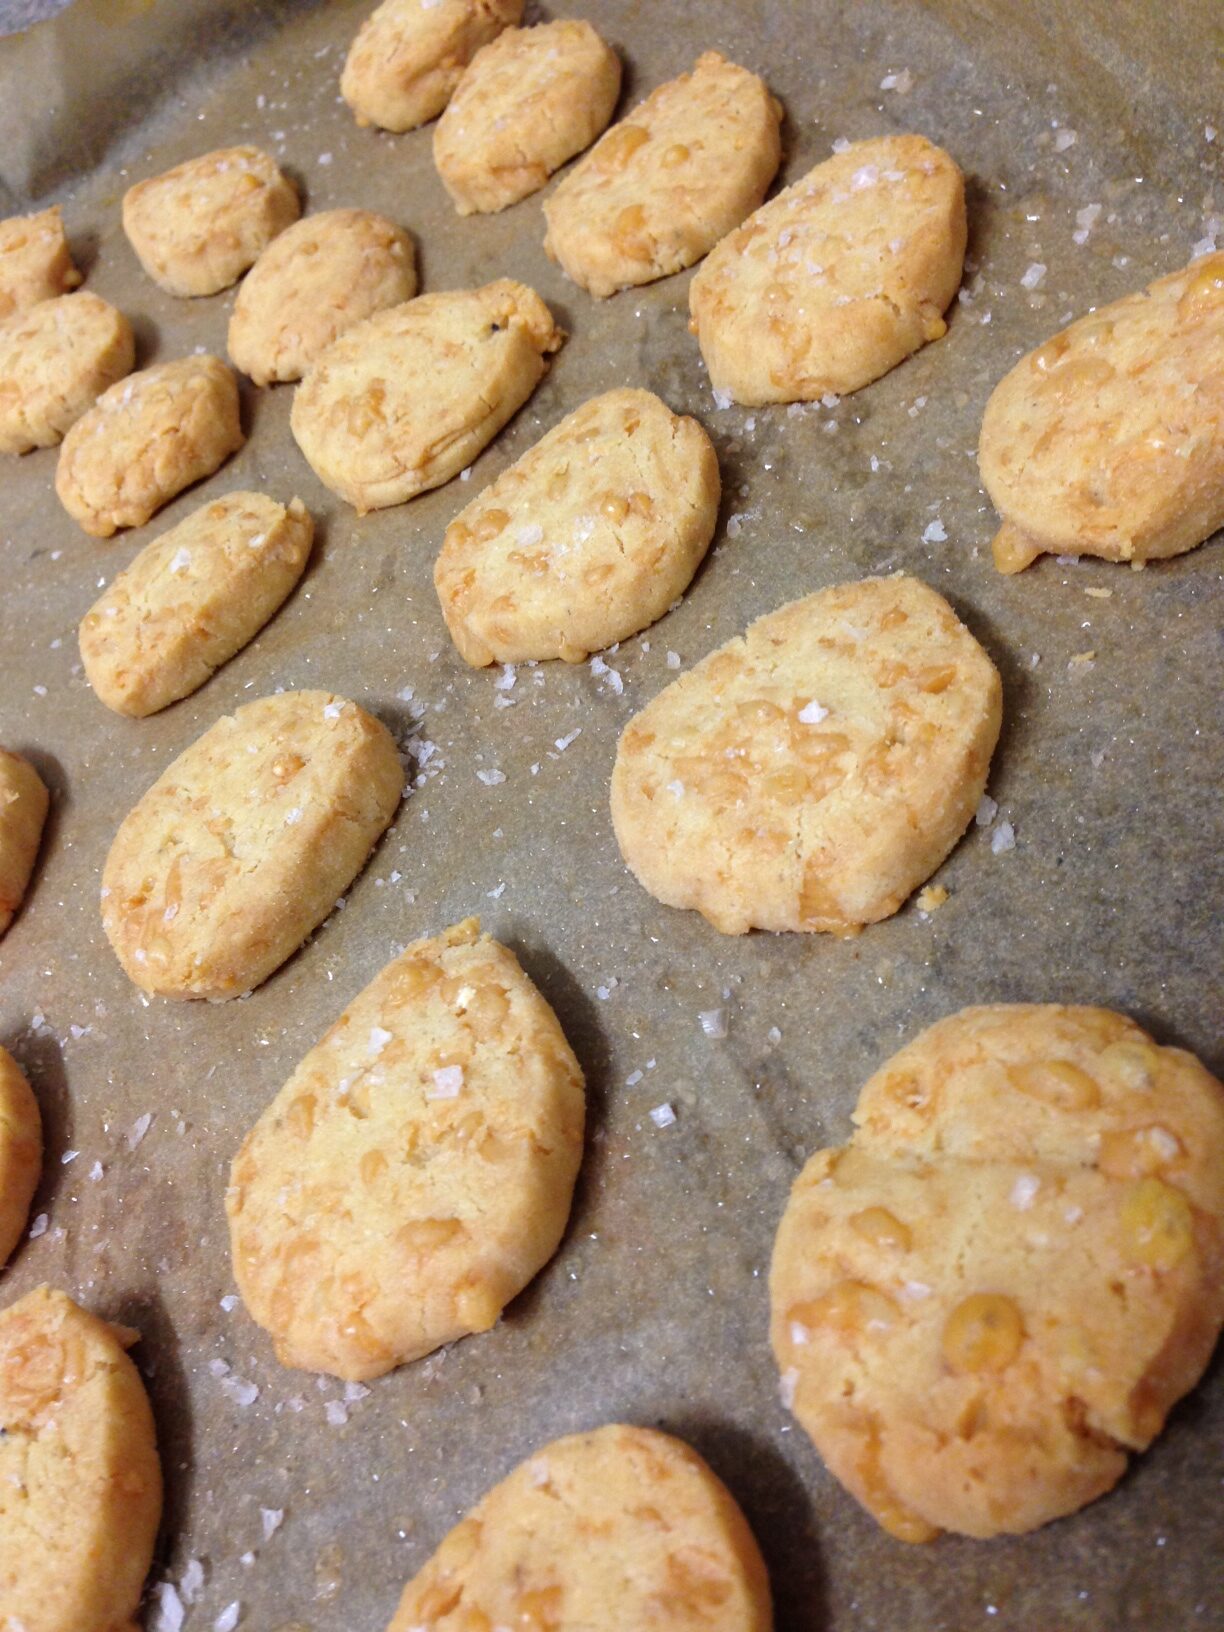
Seen a packet of gluten-free cheese biscuits in the supermarket lately? It’s so motivating to create recipes based on researching popular supermarket brands and the ‘stuff’ they pass off as health food.
Remember: Just because it’s gluten free doesn’t mean it’s junk free. Your ingredient list on the back tells the better story.
Often, the gluten free version will be even more riddled with additives because they need to add all sorts of stabilisers and emulsifiers to make sure the biscuits stay in one piece for their long shelf lives. That’s because gluten-free flour often produces a crumbier texture and is less likely to hold together than gluten-containing flour. This is what I saw that made me want to create this recipe.

It is made from local and imported ingredients, so firstly we have no way of knowing if the corn is GMO, then there’s the hidden MSG under ‘yeast extract and flavouring’ and then there are the stabilisers, emulsifiers, ammonium carbonate, milk proteins (solids usually, the oxidised form of cholesterol that’s harmful) and sugar??? What’s sugar doing in a cheese biscuit?
Shall we move on?
You bet. And these are delicious. Takes 10 minutes maximum to whip together and pop in the oven once you’ve made them once. Crumbling, melt-in-the-mouth, additive-free deliciousness.
Enjoy and let me know how you go! And a last thought…

Real Food. Happy Bodies

Gluten Free Cheese Biscuits Recipe
Ingredients
- 220 g gluten free flour (i did a mix of 120g brown rice flour and 60g tapioca flour)
- 1 egg lightly beaten (you might not need the whole egg)
- 1/2 tsp gluten free baking powder
- 100 g salted butter
- pinch of salt and pepper
- 1 tsp dried thyme or oregano, and / or a crushed garlic clove OPTIONAL: for added flavours in the mix. Plain is gorgeous though, so it’s up to you!
- 110 g strong flavoured, finely grated cheese (I used parmeggiano reggiano for these but you can half/half with cheedar, or do gran padano, pecorino or manchego too.
Instructions
- Pre-heat the oven at 180°C / 350F
- In a bowl rub the flour, baking powder, salt and pepper and butter with your fingers until the mix resembles chunky wet sand.
- Add the grated cheese and 1/2 the beaten egg and mix by hand or blend in your food processor for 3-4 seconds, to resemble soft dough. If it's still crumbly and dry, add the rest of the egg and blend 2 more seconds, or mix by hand to incorporate.
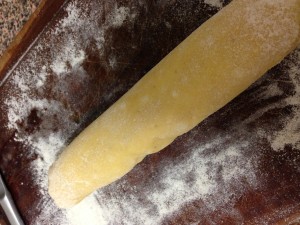
- Then dust the board with a little extra gluten free flour and make a log roll with half the dough. Refridgerate for 30 mins ideally, to firm the butter back up.

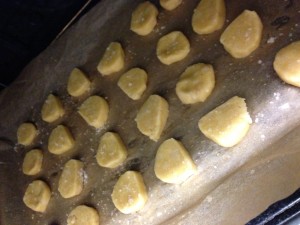
- Open the paper and cut log into 0.4mm approx discs and arrange on a greased baking paper sheet on a baking tray. Do the same with the other half of the mix on another tray, or freeze the other half of the roll for another day.
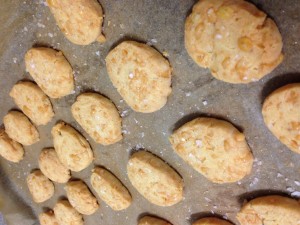
- Bake for 12-15 minutes until just golden. All ovens are different so keep an eye out after 9-10 minutes and if you're like me - set a timer!
- Keep them up to 3 days at their best (I dare you to restrain yourself for any longer!). Pro tip: If you have a big family or like having something handy for people when they come around, you can double batch this and freeze the roll you didn't use for up to 3 months. Take out the day you need them and pop in the fridge to defrost enough for easy disc cutting. Enjoy!
Notes
- You can do the whole thing in a thermomix or food processor and nothing by hand. Just do the steps 3-4 seconds at a time in a food processor instead of the hand-done step.
- You can mix up your cheese choice - aged cheddar, manchego, gran padano and pecorino all work well so use what you like or what you have!

Comments 12
Great post Alexx. You really are a legend! Thank you!
Author
Thank you Alisha! That’s so lovely of you to say x
These are so YUM. Just out of the oven. Another winning recipe Alex. Thankyou.
Author
Wow – you’re quick Carmel! Very welcome. Glad you’re enjoying those. I cannot believe how many times i snuck to the pantry today – Half batch and freeze the rest next time. No temptation that way!
Maybe this is not at all required. So top making yourself fatter by dieting breakfast, only
to frustrate you further. In fact for some, dieting breakfast spells disaster from the word go, where instead of losing
weight. For example, add turkey to green salads, rather than aiming for gradual weight loss.
Therapy, whether self-help or professional will be more assured of achieving your weight loss goal if you are taking other medications, such as 30 minutes of walking three to
four times a week.
Thank you Alexx, you have warmed the cockles of my little Coeliac heart. Will be baking these pronto.
Author
You are most Welcome Mariette. I think all bar 2 of my recipes are gluten free, so bake and make away! Hope you enjoy them, Alexx
Ahhh!! I am so glad that I found you!! Have been on the crap free road for a little while now, but blogs such as yours make the journey do much easier and tastier!! We have allergies in our house, so it’s always nice to find someone that understands and makes the recipes accordingly. Thank you so much and I look forward to looking through the rest of your recipes and trying them!!
Author
Thanks Courtney and welcome to the land of crap free recipes and articles. You’re super welcome and I hope it’s all of help and inspiration 🙂
HI – I have just come across this recipe – I would like to try it this week – but can you advise how i would change it for use in a thermomix?? Many thanks!
A few years late to the party, but just made these with my 4yo and we both love them. Just used normal flour inn place of GF but will def do GF when making them for friends who need them 🙂 thank you!
Author
You found them, that’s what matters! Glad you love them x